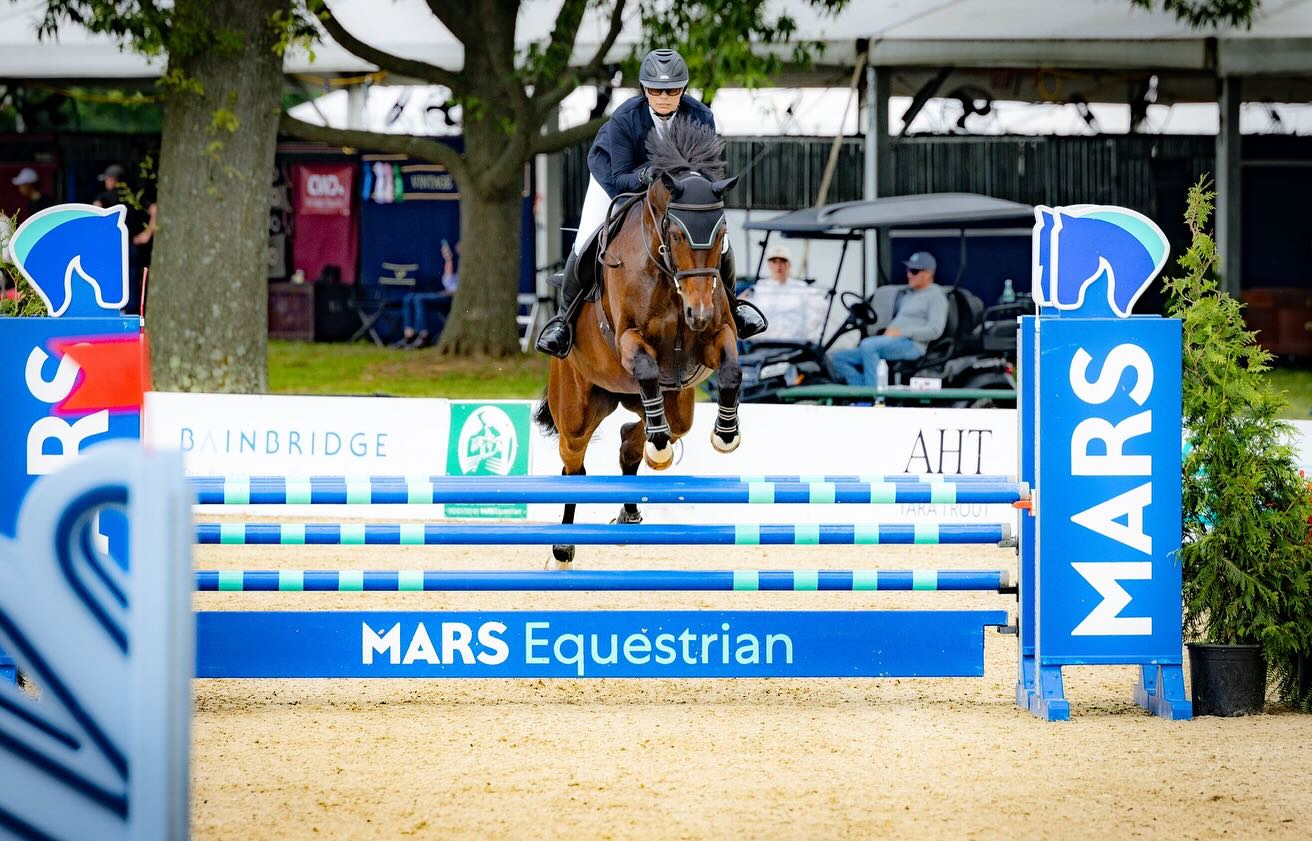
I recently had the opportunity to chat with Gina Miles, 2008 individual Olympic silver medalist, about her philosophy on bitting. As you’d imagine, Gina has become very knowledgeable about the function and proper usage of bits during her career, particularly through riding with legendary horsemen George Morris and Jimmy Wofford. And now she has assembled her very own collection of bits, which are available through EN’s sponsor Professional’s Choice, as part of their new English line of products.
Chatting with Gina was not only very interesting but also quite educational for a bit novice such as myself. She said that while teaching clinics she will stop a rider to ask them why they are using a particular bit and what function that bit accomplishes. Oftentimes, the rider does not know the actual function of their bit — other than it is “stronger” or “more gentle” on their horse’s mouth. “I don’t just want to sell bits; I want to help to educate,” Gina said.
With that mind, here are Gina’s top 10 guidelines for bitting:
1. Use the mildest bit that you can for the job. When she is starting to work with a new horse, Gina begins by riding the horse in a loose ring double break snaffle bit. She said that this allows her to “see where you are (with the horse), to be able to plan from there.”
2. Go back to the basics. Part of Gina’s bitting philosophy was developed while riding with Jimmy Wofford. After the competition season ended and winter set in, Jimmy’s horses were ridden with the most basic bits. Winter is a chance to step back from intense training; by using a mild bit, a rider has the chance to see how obedient their horse can be.
3. Use enough noseband. A bit will not be as effective if the noseband that it is used with is not strong enough. A strong bit can’t help a rider control their horse if the horse is able to get its mouth open. On the flip side, sometimes a stronger noseband needs to be used to make a mild bit effective without overusing it. Gina told me that she has seen horses that have been “made dull in the mouth from the overuse of a plain snaffle bit.”
4. School in a more mild bit than you show in. While training, you are teaching your horse to be responsive to aids and obedient. Schooling in a milder bit will help you practice getting more control while using less bit. This should result in a more responsive and better trained horse.
5. Compete in a bit that is strong enough. When you arrive at a show and unload your horse, they are usually excited; and when they are excited, horses sometimes tend to throw their muscle around. “Sometimes you have to bit up to get the job done,” Gina said. Instead of fighting for control of an excited horse, switching up to a stronger bit at a competition can help immensely.
6. Safety is the number one priority. “During a cross-country course when you are galloping across fields and jumping your horse over solid obstacles, it is really important to be able to stop when you get to the end,” Gina said. Another part of Gina’s philosophy she developed from George Morris is that you must “use enough bit that you have control.” When working with young or inexperienced riders, Gina would rather use a stronger bit for the sake of safety, especially when they are jumping or riding cross country.
7. Switch up your bits. After finding several bits that work for your horse, switch them up from time to time. Doing so will help keep things fresh and interesting for your horse.
8. Make sure to fit your bit to your horse’s mouth. Don’t just assume that the average horse goes in a 5-inch bit. You should measure your horse’s mouth to make sure that your bits fit properly. There are commercially available bit sizers that are basically a piece of plastic with labeled measurements and a bumper at the end. You can also just use a piece of string with a knot at one end. Slip the string through the horse’s mouth where the bit would sit and keep the knot at one end. Mark off where your horse’s mouth ends on the other side and measure the string. Keep in mind that for bits with a loose ring cheekpiece, you might need to add a quarter- to half-inch to prevent pinching.
9. Properly fit your bit to your bridle. When you attach a new bit to your bridle and are fitting it on your horse, you will need to check to ensure that it fits properly. As a general guideline, you should be able to see one large and one small “wrinkle” at the corner of your horse’s mouth. Adjust the cheekpieces on your bridle to achieve this effect.
10. Regularly schedule your equine dentist. Sometimes dental problems can be a cause of bitting discomfort for your horse. An important part of maintaining your horse’s health and being successful with their training is to schedule regular dental exams.
Gina also talked about her own collection of bits with Professional’s Choice. With so many combinations of mouthpiece and cheekpieces available, choosing the right bit for your horse can be a daunting task. In speaking with Gina, she told me that she specifically selected the bits that are part of her own collection so that “there is a bit for everyone” — from basic bits to stronger bits, for horses that tend to carry their head too high, ones that carry their head too low and even ones that tend to lock in the jaw. You can check out Gina’s bit collection by visiting the Professional’s Choice website.
Go Bitting Education. Go Gina Miles. Go Eventing.


