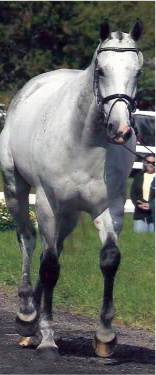
 Do you ever stare in awe at the sleek shiny horses, the glistening brass, perfect braids, and dazzling white marks at a CCI trot up? Do you ever wonder how they get that way? (LOTS of hard work is the correct answer!) Each Sunday morning we will bring you a little insider info on how the big-time grooms manage an upper level event horse. Feel free to email or comment with specific grooming questions if you have a topic in mind!
Previous entries: Sheath Cleaning
Extreme Makeover: Button Braids , Part II
Extreme Makeover: Taming the Tail
What About Tack? Part I , Part II
STUDS

No, I’m not talking about “studs” of the breeding variety. I’m talking about those little scraps of metal that you twist into the heel of a horse’s shoe to provide added traction on a variety of surfaces.
When to use studs?
Whenever you feel like there is a possibility your horse might slip, you should use studs. This “possibility” is affected by footing, level of jumping, and the individual horse. Ground conditions range from hard and slick to deep and boggy. Different studs are used for different footings.
At lower levels (BN, N) studs often aren’t necessary. The slower speed, lower height, and lack of technicality (few sharp turns) mean that there is more room for error, and a horse doesn’t need maximum power to complete the question safely. Studs allow the horse to transfer more of his jumping effort into “UP” over the fence, instead of sliding his feet in the opposite direction…this becomes increasingly important at preliminary level and above.
Use of studs is also dependent on the individual horse. Some quick, catty horses are more surefooted than half-draft plodders (NO OFFENSE to drafties, I love them!). But some quick, catty horses turn too fast for their own good and “spin their wheels,” so studs can help. Horses with excellent feet, happily barefoot at Novice level, should probably stay that way. Bare feet provide better traction than plain flat shoes… but shoes with studs are better than bare feet.
I generally start using studs at Training level, but it is always dependent on the horse, and what area you live in. Lovely sandy footing like Ocala and Aiken does not require studs like those in clay-based locales.
What studs to use?
This is a very complex question. You really must KNOW the ground, and KNOW your horse to answer it…and it is highly individual. There is no true “right” answer, no mathematical formula that will produce the perfect result. It is a “feel” you will develop over time, riding many courses and knowing your horse. It is good, though, to take a peek at what others are using. Saturday morning, you will frequently find less-experienced riders scampering amongst the barn area, carrying stud kits, or a handful of studs, getting ideas or confirmation from neighbors about “What are you using?? What do you think about This One??” Working for an upper level rider, I fielded such questions frequently: brought them into the stall, picked up a studded foot and explained what and why.
General rules
There are a few general principles to follow, tailor them as you may to suit your needs.
— Use the smallest studs possible to get the job done. By increasing traction, studs also increase the torque placed on the horse’s limbs. Bigger studs = more torque. More torque leads to greater strain on the leg, and risk of injury. When a horse lands off a big jump, the front feet slide just a little…this is desirable. When the horse doesn’t slide, but jams into the ground like a lawn dart, that’s when things go “pop.” Think of an NFL running back making a cut with the ball, avoiding a defender. He needs to push off with one foot; that foot must not slip too much or he’ll fall down. But if the foot excessively “plants” in the turf, he can blow out a knee.
— Smaller studs in front; bigger studs in back. The horse’s jumping power comes from the rear, like a drag racing car. Dragsters have HUGE rear tires to maximize traction, but smaller front wheels for direction only. Same idea applies… use smaller studs in front to limit torque to limbs, but keep larger ones behind to maximize power.
–Bigger studs on outside, smaller studs on inside. This rule can be optional; there are many who believe in equal studding on the same foot. However, I was taught to use the taller, spikier stud on the outside branch, and a shorter/duller stud on the inside branch. The idea is that if a horse steps on himself, or strikes the opposing leg, it won’t get ripped to shreds by a big honkin’ pointy stud. “But, but, but, it’s UNEVEN!!” people always say when they see my horse standing on a hard, flat surface. Yes, but my horse isn’t competing on pavement– on turf, both studs will sink into the ground, allowing her foot to land level and balanced. The outer stud is the more important one anyway– that’s your “rudder” stud to help the horse turn. If you’re in a massive hurry to tack up, and the ground is decent, you can get away with just throwing in one grass tip stud on the outside branch of each foot. You’ll survive a lower level course, jump lesson, or show jumping round just fine without the inner studs. In some instances, as with duller studs on yielding ground, I will use the same stud “straight across” the shoe (both branches) or “all-around” (meaning all 4 feet straight across).
Stud Taxonomy and Nomenclature
As with most other studly principles, naming and identification of studs is highly variable and subject to local/individual habits. What matters is that you, and whomever else is responsible for your stud system, has a reliable, consistent method for classifying your studs. There are several different types, suited to different ground conditions; each type will come in varying sizes, to meet the degree of difficulty presented by the footing.
Categories:

Four everyday grass tips, and two extra tall pointy ones for very hard ground
Grass tips: also known as “points,” these are sharp spikes meant to dig into hard ground. They are used on the outside branch of the shoe, to avoid shredding the horse’s opposite leg. The harder the ground, the thinner and taller the spike. The base of the spike will have a small square “nut” portion. Match this “nut” size with a road stud of the same height for the inside branch of the shoe. Average “good” conditions will use a grass stud about 0.5″ to 0.75″ in height (not counting the screw end).
Various small road studs
Road studs: Small, flat-topped squares or hexagons meant for hard surfaces, like roads (hence the name). Won’t dig into ground, so much as provide a contact point for increased friction. Often used on the inside branch of a shoe, to match up with a grass stud (base). Or use a plain pair of road studs all around on good, level footing, like some sandy soils. Small grass tips and roads are my #1 most-often used combination.

Roads and square tips; grass tips and roads
Square tips: This is just a name I made up for them, I’m not sure what anyone else calls these, but they are my #2 stud behind grass tips/roads. They are about the same size as your everyday grass tip, but with a square base tapering to a mild point. Excellent for soft, but not muddy footing. It won’t slice right through like a grass tip, but it won’t “grab” as much as a bullet. Usually matches well with an ordinary road stud on the inside.
Bullets straight across on a hind foot
Bullets: Chunky, bullet-nosed studs with gentle rounded tips. Usually 0.75″ in size, often used in wet (but not sloppy) conditions. I may use them straight across, especially on hinds, as the bullet is relatively mild in an overstrike.
Big blocks: Road studs on steriods. Large, square chunks of metal about the same size as your bullets. May be matched with bullets, or used straight across. Good for mud, as their flat surface areas increase friction.
Big bullets: Bullet-nosed with a much longer base. Meant to dig into deep mud. Use on outside only, (match up with a big block) and usually behind. If you’re using them in front, it’s a REALLY bad day! (See Fair Hill 2009)
Olympic studs: The freakin-huge monsters that still glisten with metal coating, because you rarely use them unless the ground is awfully bad (See Fair Hill 2009). Use them on the outside behind, and with the biggest block (or perhaps a medium bullet) you can find to match.
Depending exactly on where you live and the conditions you face most often, your basic starter stud kit should include:
6 everyday grass tips (you will lose one occasionally and use them OFTEN)
8 everyday square road studs (in case you want to go all around)
4 square tips (optional, but I use them a fair bit)
4 small-to-medium bullets
4 big blocks (matching your bullets)
The studs above should take you through most horse trials with normal conditions– ideal, hard, soft, wet, slick, or muddy. If you face a situation in which you need the big honkers…ask yourself it it’s REALLY worth running– at a 3-day, probably so. In which case you rush on down to the tack shop trailer late at night, with your own stud kit for comparison, sit on the floor surrounded by studs, carefully measure everything out, and buy the biggest ones you can stand to use. You likely won’t ever use them again, but they’re there anyway.
So you have your studs all sorted. How do you manage them? I prefer to keep everything in a plastic tool box or tackle box. Such boxes come with handy compartments and trays to keep everything separated neatly. Some prefer to keep their studs also in tiny plastic lidded containers (think lunch snacks); this also works, but the plastic becomes cloudy and difficult to see, so keep your containers labeled appropriately for easy ID. Separate your studs according to type and size, and arrange them logically so you can find them quickly. (You’re often in a panic before xc anyway, especially when the ground is bad!)
Stud plugs: when not in use, your stud holes should be filled with material to keep dirt, sand, and other foreign matter out. It makes cleaning the hole much easier, and prevents grit from irritating the foot beneath the stud/shoe. I like the white foam plugs; just push them in, and use a pointy tool (a horseshoe nail works well) to pick them back out. To get more bang for your buck, cut up the foam stencils to make more plugs when the pre-punched ones run out. Cotton also works, but falls out easily; same with rubber plugs. Screw-in metal blanks are a pain, as if you must use an allen wrench, and if you don’t turn them frequently they will rust inside the hole and you are (literally) screwed when you can’t get it out!

Hoof pick, tap, wrench, and WD-40
T-tap: T-taps are used to clean dirt and crud out of the stud hole after you remove the plug. Originally named because most taps were in a “T” shape, but now I won’t use anything but my “Safety Spin” t-tap from Bit of Britain. Horses occasionally put their foot down when you are tapping a stud hole, and the cross-bar of an original T-tap would break, leaving the hole plugged with tap. NOT A GOOD THING! The flat rubber handle of the safety tap will not break off, so if the horse accidentally steps down you are still ok!
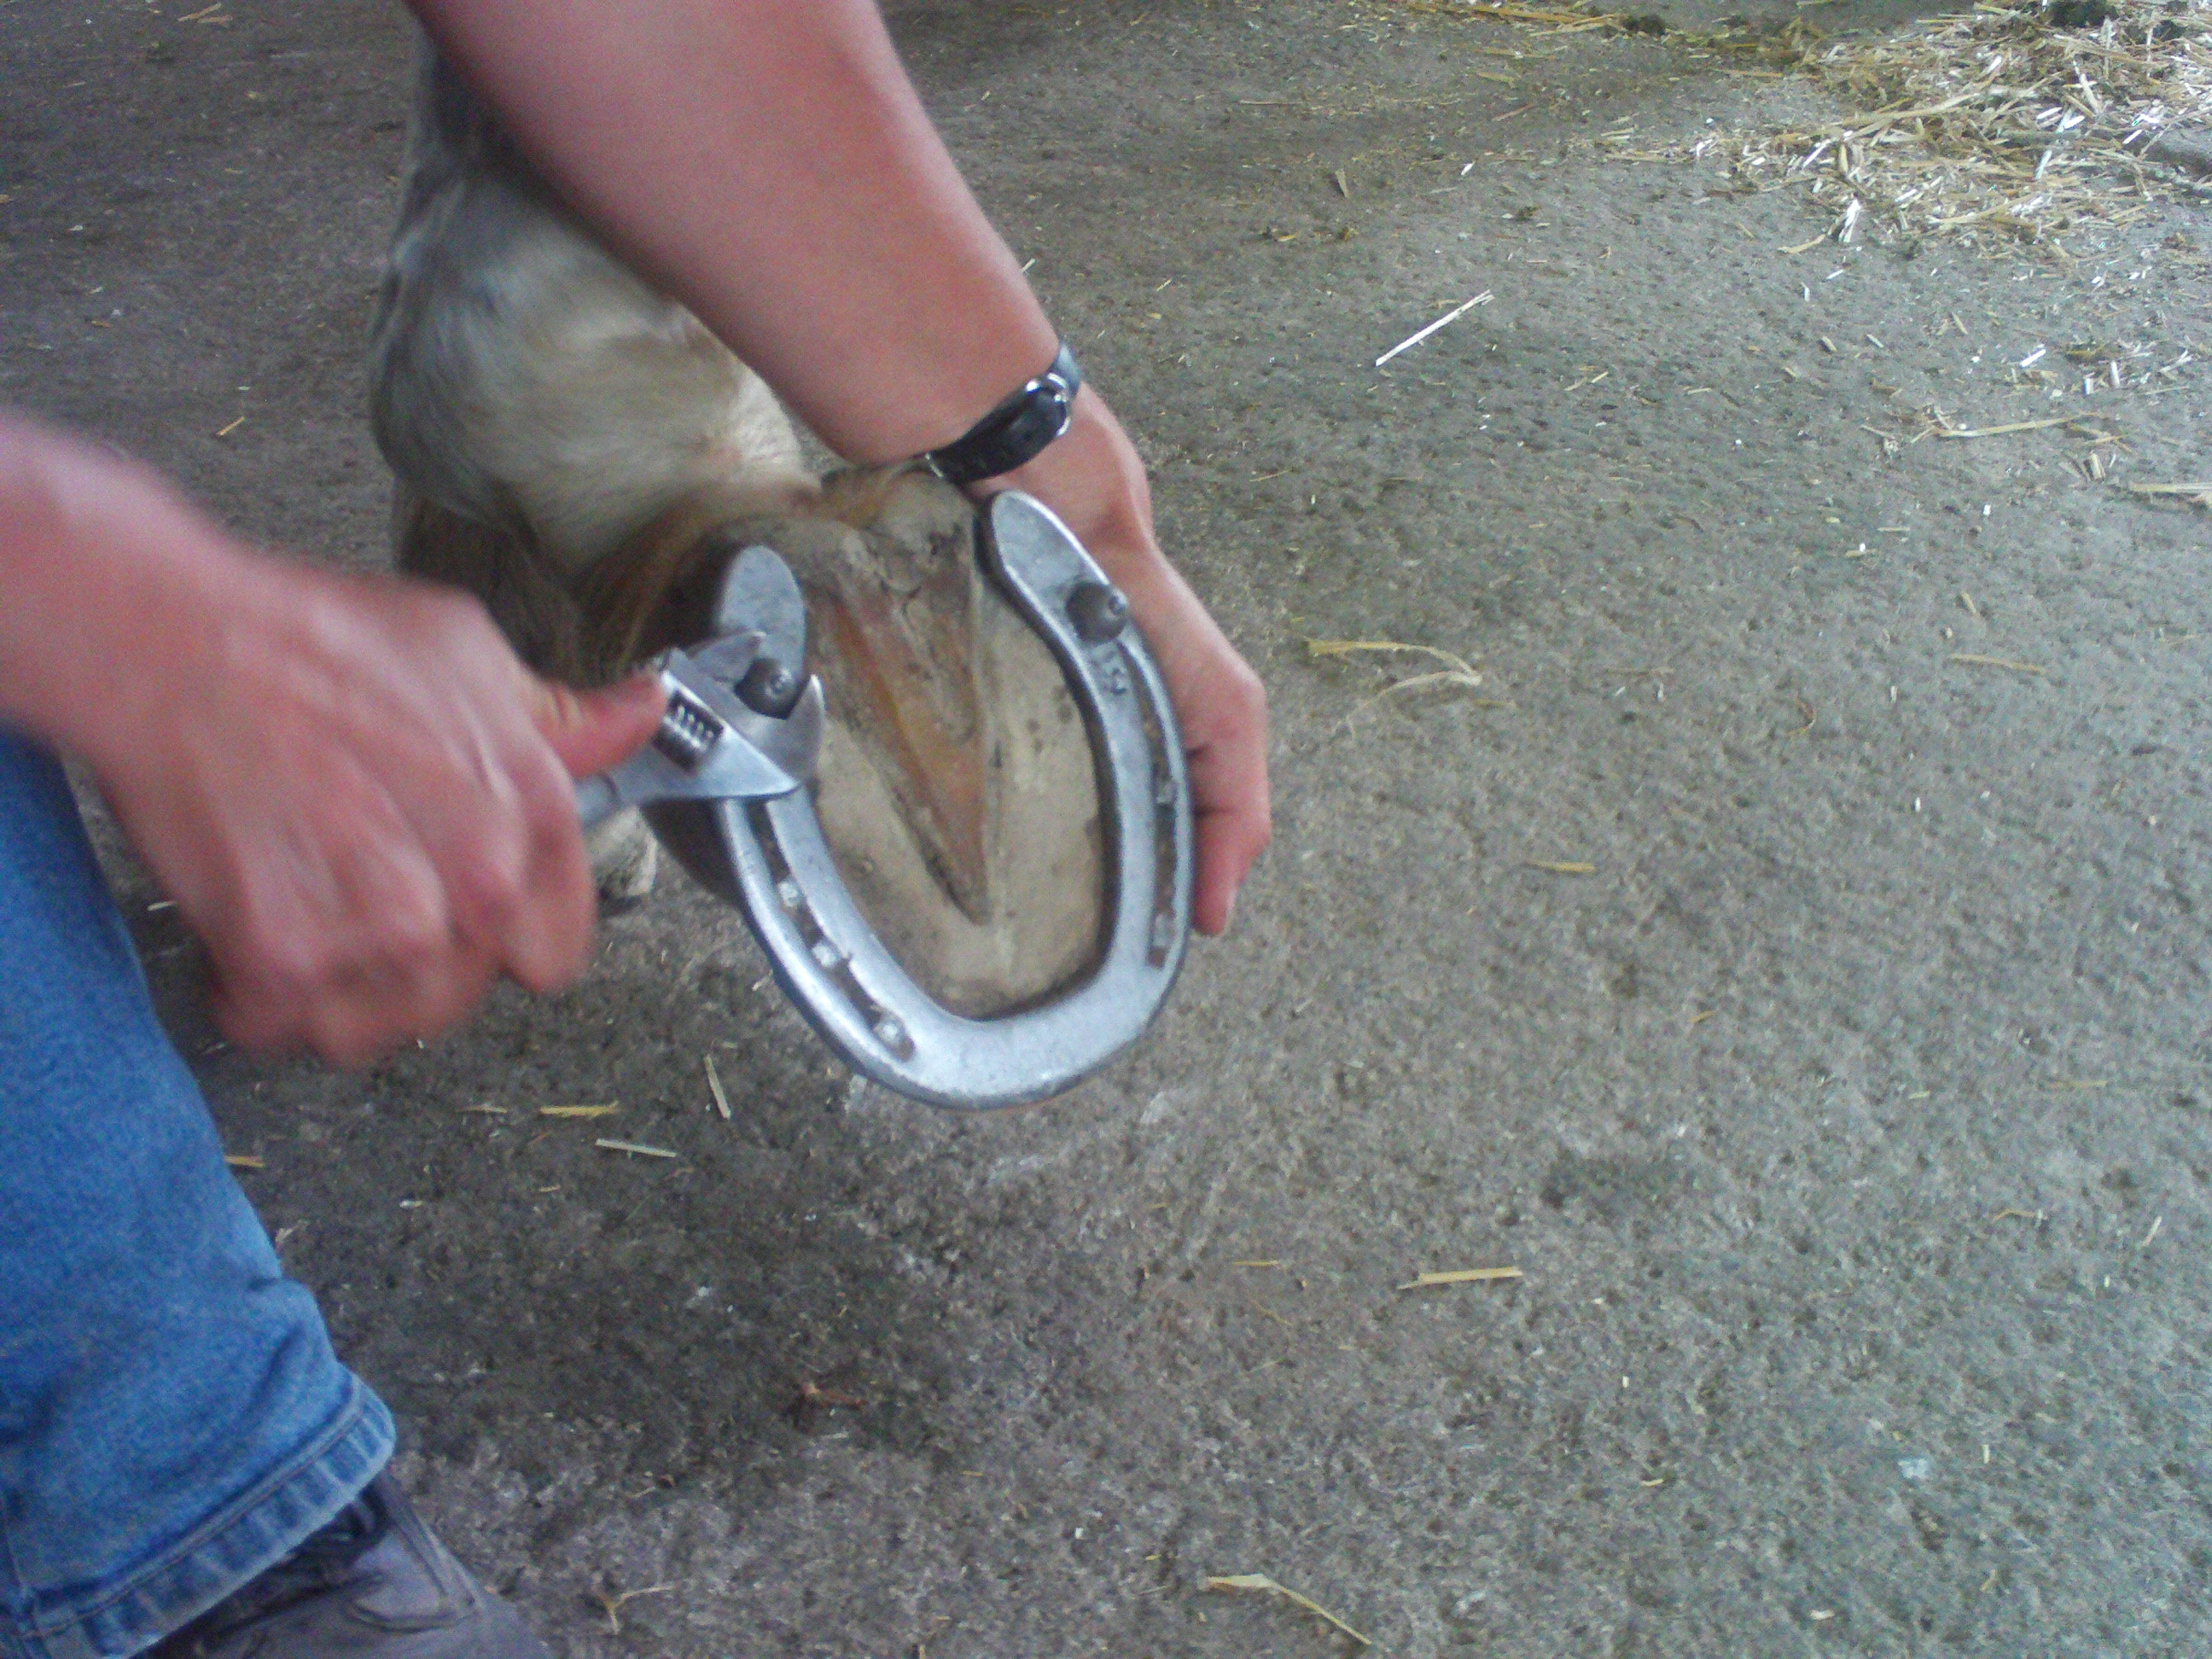
Use a 6″ adjustable wrench to apply/remove your studs (labeled with electrical tape, of course). Heck, keep two wrenches…people often borrow them or they wander off! Also handy for multiple horses.
WD-40 is great for squirting in stud holes before stud-application, and for cleaning studs after use. Spray the stud, scrub with a toothbrush (or brush-end of hoofpick) and wipe clean with a dry rag.
A magnetic dish will come in VERY handy when you drop a stud in a stall full of shavings. You can buy the expensive dish (with powerful magnet!) from BoB, or pick up a cheaper ($1) version at a craft store in the sewing/needle department. This magnet is not nearly as strong– it won’t find your stud buried in four feet of bedding/manure– but it still works.
I also keep a few other miscellaneous items in the stud kit, just as a handy place to have them: hoof pick, electrical tape, permanent marker, duct tape, extra shoes, and a hammer.
How to “stud” a horse:
1. Put boots on first. ESPECIALLY pull-on bell boots!! It is difficult to stretch them over studs, often leading to cuts, bruises, scrapes, and foul language. Putting boots on first ensures that your horse’s legs are protected in case he does something silly while standing tied, and steps on himself.
2. Start with a front foot. Squat down and rest the horse’s leg on your lap, holding it gently with your “inside” arm. (Anti-Pony Club way: If horse is calm and cooperative, you may sit on your stud box or low bucket and rest the foot on your lap comfortably.) Use a horseshoe nail, mini-screwdriver, or other sharp pointy pokey tool to remove the stud plugs and clean the threads.
3. Spray the holes with WD-40. Insert the T-tap until it just reaches the sole of the foot, then remove it. Repeat for both holes.
4. Start to screw in each stud with your fingers. Remember: big on the outside, little on the inside! It may help to separate your studs beforehand into compartments for front/hind, inside/outside.
5. Tighten each stud with the wrench, AS TIGHT AS YOU CAN. Be sure that the length of the stud’s threads are not taller than the depth of your horse shoe, or else it will dig into the sole creating a painful bruise. Have a mechanic (or resourceful farrier) cut down the threads to an appropriate size if necessary.
If your horse is cooperative, with a little practice you should be able to do both feet from the same side. Pick up the opposite foot, bring it gently under the horse, and proceed through steps 1-5 again. Otherwise, pick up your “seat” and move to the other side of the horse to do that foot.
For hind feet, you may be able to rest the horse’s toe on the ground– this is much easier than holding it up! And usually more comfortable for the horse. However, some will try to stand on it at the worst moment, so you may end up holding it anyway. Use whatever method works best for you.
It takes some practice to be comfortable with your studs and tools, but try to work quickly and efficiently. Some horses get bored holding their feet up, or simply get the feeling they MUST MOVE, and yank their foot away with little patience. You should work on training this behavior, but at a stressful show is usually not the time nor place. Strive to be quick, so that you can get the studs in or out before the horse has a chance to nail your toes to the floor, or cause you to drop the precious Most Favorite stud deep in a pile of shavings.
Will.groom.4.food was kind enough to help me with the photos, and we shot some video as well. I’m having a difficulty editing and uploading the video at the moment, but if anyone needs extra help let me know and I’ll get the video up soon. Hopefully you can figure it out!
As always, any extra tips or comments are welcome! BTW, send me your stories! I want to know how Jog Up tips are working (or not) for you and your horse! Before/after pics are encouraged! Send them to [email protected], and they may make it into an upcoming column!


