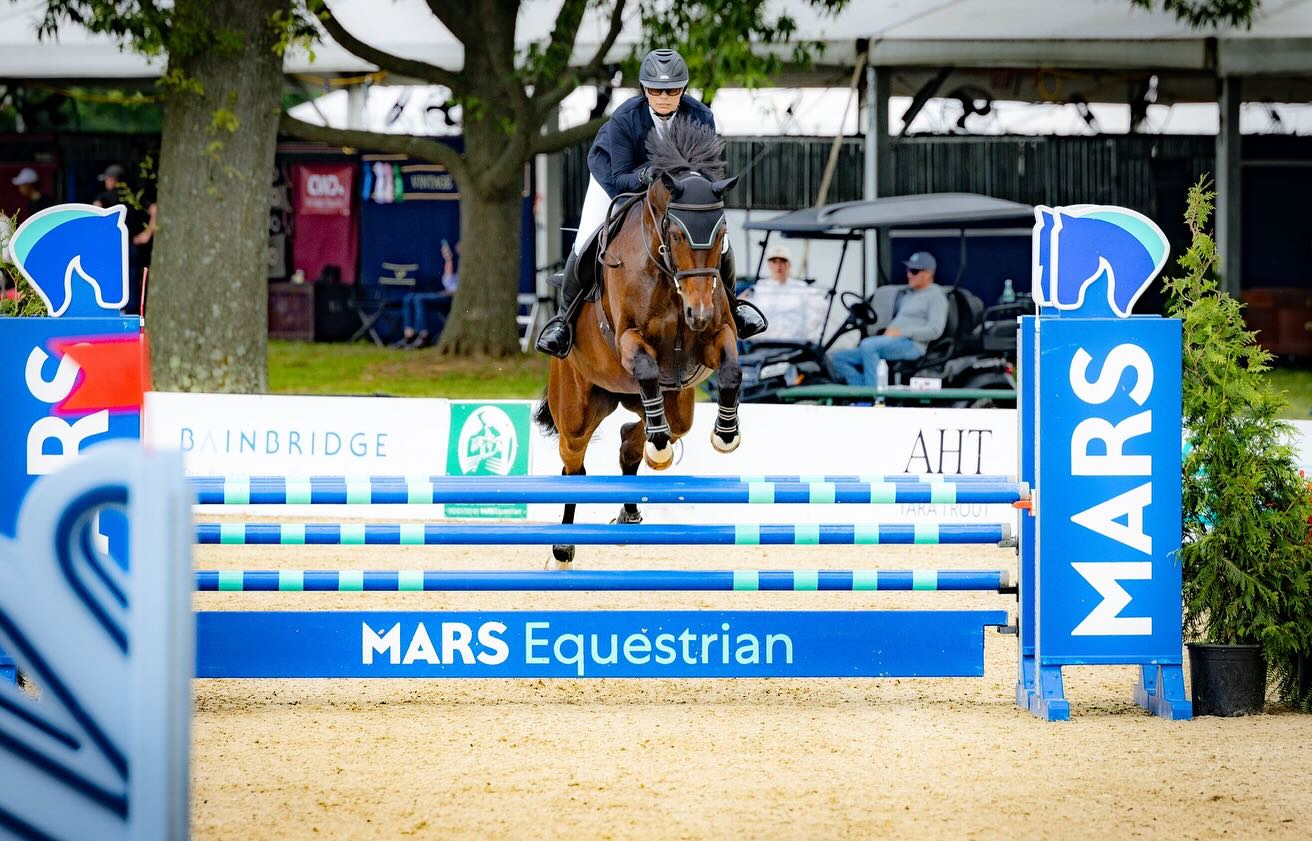
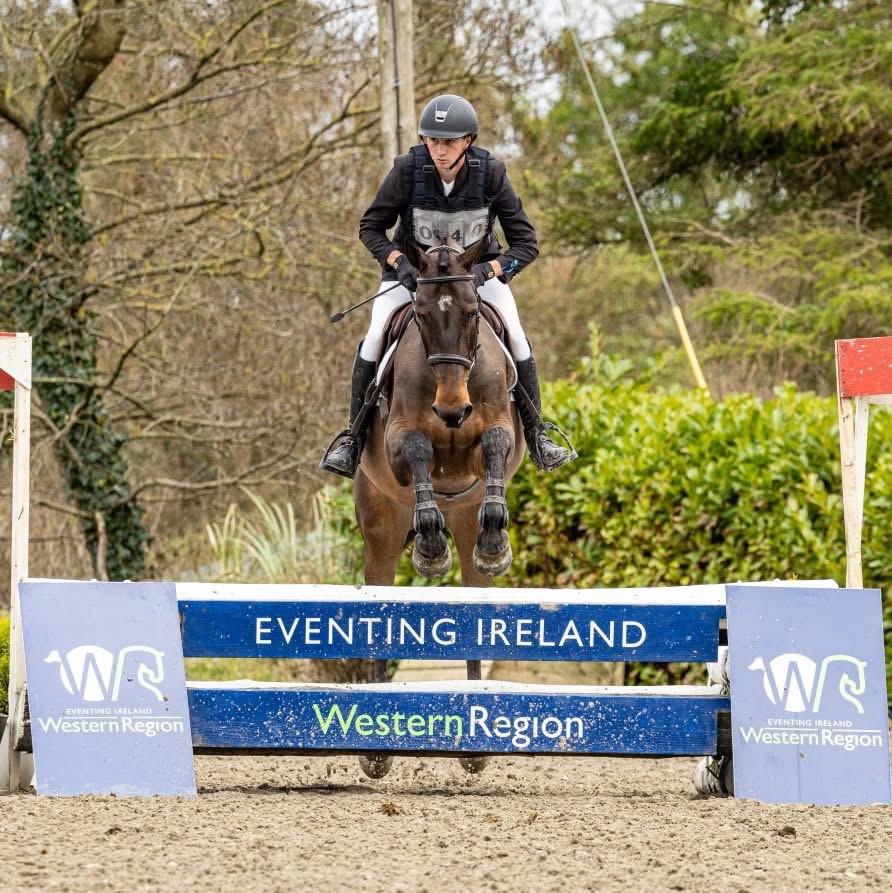
In this excerpt from Margaret Rizzo McKelvy’s popular book Grid Pro Quo: 52 Powerful Jumping Exercises from the World’s Top Riders, we hear from 5* eventer Ariel Grald about the gymnastic exercise she likes to use to improve rider responsibility in the saddle.

Diagram courtesy of Onawa Rock/Horse and Rider Books.
This is a great exercise for riders who have limited jumps to work with, and perhaps limited space. The setup is easy, and the distances are versatile for horses of varying abilities.
MATERIALS NEEDED
- 4 jump poles
- 4 set of jump standards
- Flower boxes or other filler (optional)
- Extra ground poles for warm-up
SETUP
- You can place this exercise most anywhere in your arena, as long as you can approach it from both directions.
- Place a few ground poles randomly around your arena for warm-up.
WHY
Throughout my everyday training, I try to keep a big focus on rider responsibility versus horse responsibility. To keep it very simple, the preparation for any jumping exercise—namely creating a good, balanced canter to jump from—is completely the rider’s responsibility. Once you get on your line for the exercise, it’s the rider’s job to stay balanced in the middle and out of the horse’s way, as the responsibility is transferred to the horse.
The purpose of this exercise is to combine footwork with coursework. The 21-foot, one-stride distance is your footwork piece, and the 45-foot, three-stride distance is your coursework piece. The challenge is maintaining three strides of even length to your last vertical, and for the horse to remain careful for the last vertical.
Regardless of the level you’re competing, your horse is more likely to get flat and unbalanced the longer you have between fences. This is why practicing how to develop and maintain that perfect show jumping canter is so important. Three strides is the perfect distance to set yourself up for success.
HOW
Before you even jump the first jump, be sure your horse is sufficiently warmed up through his body. Try to start with a walk hack whenever possible, then ask him to lengthen and come back within each gait, along with some low-stress lateral work. While your expectations of the horse will change depending on his level of training, he needs to listen to all of your aids, regardless of whether you’re flatting or jumping.
Once you’re confident your horse is properly warmed up on the flat, start trotting and cantering over the ground poles that you have scattered around the arena. This is the time for you to help create the shape and balance to the canter that is appropriate for jumping. Remember, at all times, the horse needs to be responsible for his own feet.
From here, simply start with the whole line of jumps (Jumps A, B, and C) set quite low for your level of jumping. This setup is not intimidating, so for a horse that knows how to jump, it shouldn’t be too difficult to start with all the jumps in place. Of course, if you have a green horse, you can start with the poles on the ground and build it up jump by jump.
As you work through this line of three jumps, you want to keep a few things in mind before you raise the jumps. The biggest thing is to analyze your three-stride combination between Jumps B and C and make sure your horse is taking three even strides. If your horse is landing and rushing a little bit, add a landing pole after Jump B, and, perhaps, add another one in front of Jump C.
On the opposite end of the spectrum, when you have a horse that is a little lazy and behind your leg, add in a canter circle before Jump A. Practice going forward and collecting back on this circle, making sure you can go beyond your perfect canter and come back to a canter that’s a little smaller than perfect, and finally settle in the middle on that perfect canter before heading to Jump A.
Another thing to consider is whether your horse is truly straight through the entire exercise, which includes the few strides before and after the entry and exit. If you have a horse or rider really struggling with straightness, add guide poles on the ground next to the jumps to help them out.
It’s important to keep riding after Jump C, so give yourself something to ride toward. You can get creative with this, and it can be anything from a set of cones to ride through to a cavalletti set on a bending line. Remember your transition back down to the walk between jumping rounds is also part of your exercise. Make every transition count, rather than celebrating after the last vertical and letting your horse fall on his forehand or get crooked.
As you work through the exercise, there are two ways of making it more challenging. You can build up the jumps gradually until they are at your competition height. Or, you can make the jumps more visually interesting by adding or changing the fillers throughout your jump school. And for more advanced horses, use the distance to challenge them a bit by shortening the distances a little to teach them to compress and move their feet faster. In addition, as a way to help work on finding that perfect distance while on course, you can add a ground pole two strides away from Jump A to help practice finding that distance. Just remember that the more poles you put on the ground, the more your horse has to think. I tend to either add poles or raise the jumps, but rarely both at the same time.
I often find that working through this exercise is enough for one jump school. But as your horse becomes more familiar with it, you can always use this as a warm-up as preparation for coursework.
This excerpt from Grid Pro Quo by Margaret Rizzo McKelvy is reprinted with permission from Trafalgar Square Books (www.horseandriderbooks.com).


