In this excerpt from her new book Stable Core Training, certified personal trainer Joyce Kramer provides easy ways to “wake up” important muscles before you ride.

A muscle needs to activate before it will function properly for movement. Modern living, inertia, and poorly designed chairs, sofas, and car seats all stifle our ability to move. Movement itself can help activate muscles, but some muscles are notoriously hard to activate. The glutes are examples of this. When the glutes don’t activate, our spine is subject to excessive compressive forces, in turn giving rise to weak, inflexible, sleepy, painful areas that hurt or spasm when you move. Moving as much as possible within your pain-free range will substantially help your athletic performance and your body’s ability to function. But you can get even better relief if you activate a muscle prior to initiating the exercise or movement. Let’s take a closer look.
Muscle activation refers to a state of readiness of a muscle to contract, hold, or elongate. Equally important, it also involves a muscle’s willingness and capacity to deactivate, thus avoiding over-tension or spasms. When a muscle in a myofascial chain resists deactivation, it tends to shorten the chain length.
Ideally, you should sense that all your muscles are there for you, ready to fire (or relax) at a moment’s notice. If you watch an Olympic athlete such as a ski racer, she will often shake and tap her legs, sides, and hips before she takes off down the mountain. She is activating (“waking up”) the muscles she is about to call upon. She will often choose specific muscles to activate by prioritizing the weak links of a chain. This is a smart, and very effective, training tool. Here are some actions that will “wake up” a muscle:
• Shaking
• Tapping
• Rolling
• Poking
• Wiggling the overlying skin
• Squeezing the muscle on and off in pulsing fashion
• Pointing to a muscle and bringing your attention to it with your thoughts
Try This:
There are numerous ways to activate key muscles when you ride. As an example, let’s focus on activating the rib cage muscles at the beginning of a jumping lesson. Activated rib cage muscles support the rider’s lumbar area.
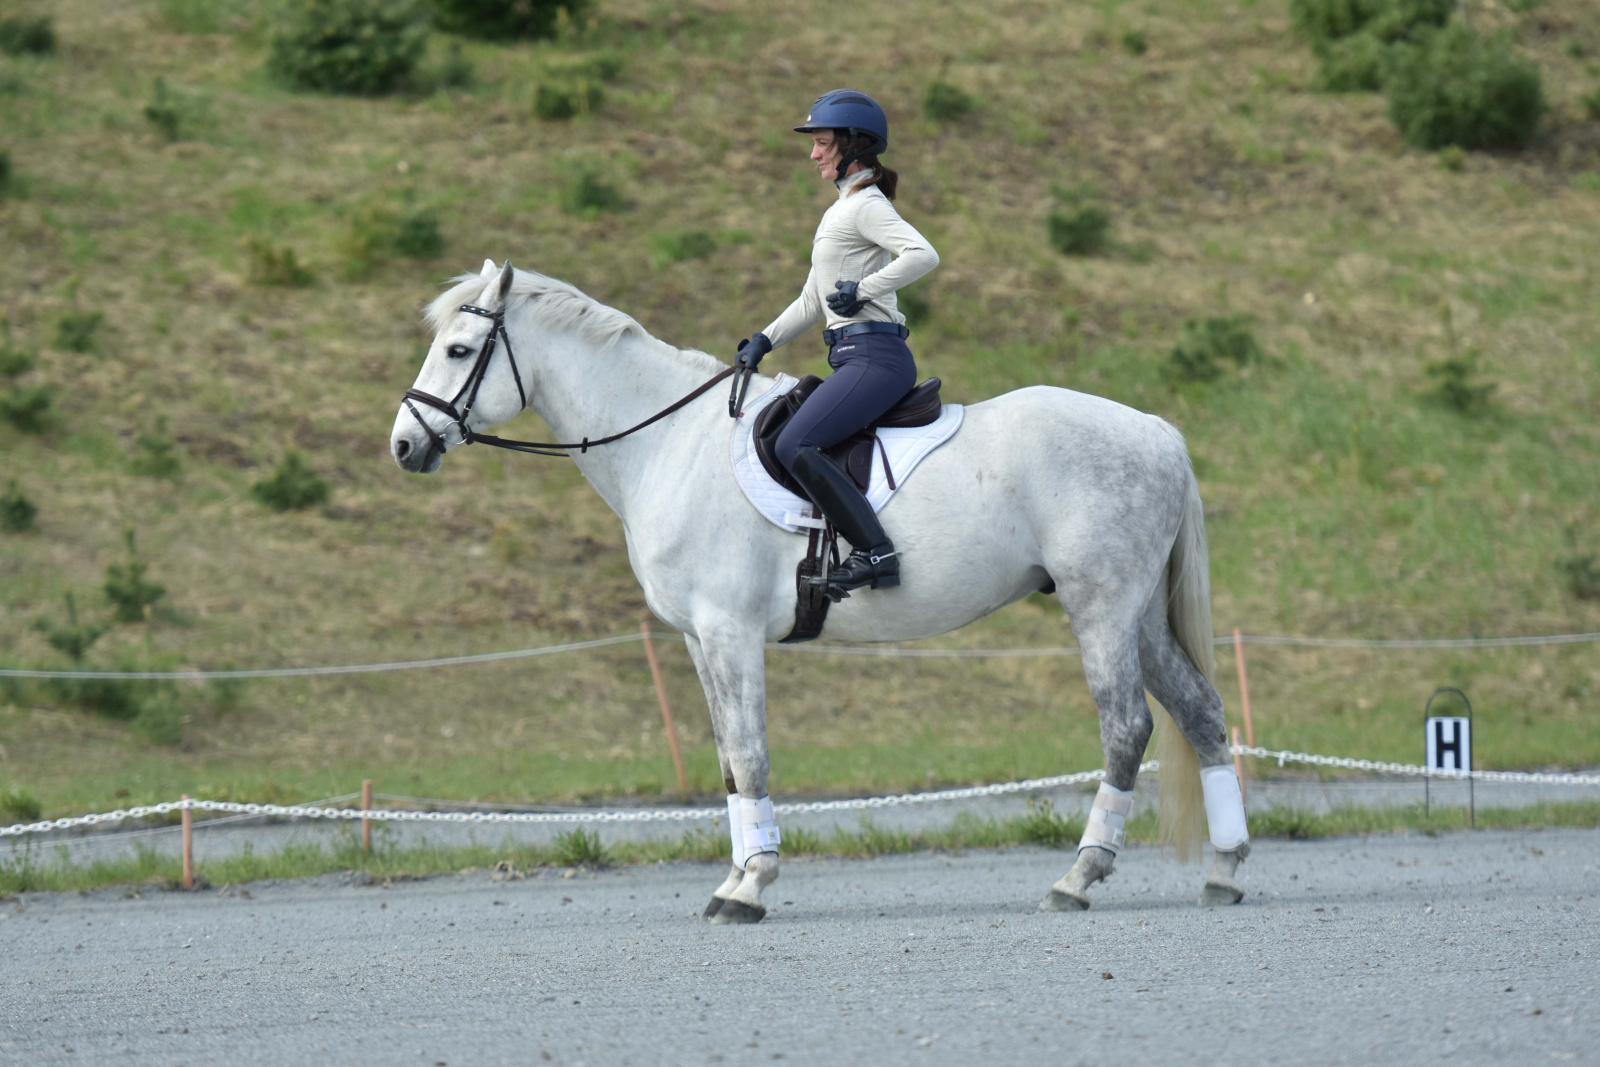
Photo by Jayson Benoit.
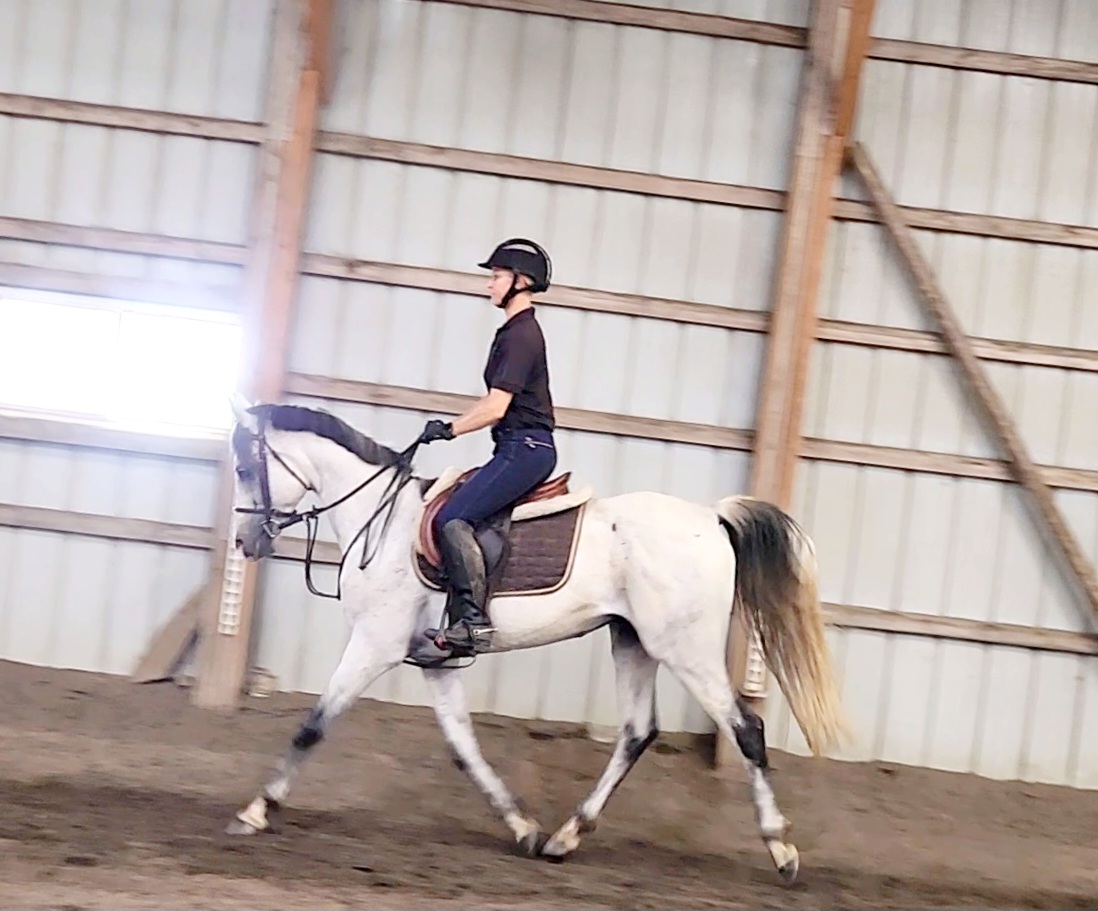
Eventer Bekki Read of Round Robin Farm in Tunbridge, Vermont, demonstrates lower ribs poking outward and upward due to a failure of the rib cage muscles to activate. This puts a lot of stress on the lumbar region.

Photo by Jayson Benoit.
To activate her lower rib cage muscles, Bekki drops a stirrup and raises the same-side arm. She then pulses the lower rib cage muscles as if she was pumping a fist. This exercise should be repeated on the other side.

Photo by Jayson Benoit.
Bekki holds her hand on her rib cage as she moves it forward, backward, left, and right relative to her pelvis. This increases her awareness of the rib anchoring muscles.

Photo by Jayson Benoit.
Thanks to her effectively activated rib anchoring muscles, Bekki jumps with well-aligned ribs and a supported lower back.
Now Try This:
One of the biggest challenges of riding is to moderately activate specific muscles as you tone down or deactivate others. For deactivation and release, it is best to use imagery. Imagine the muscle or body part turning into a soft, billowy cloud, or melting like an icicle or a pat of butter on a warm homemade muffin. Try some of the following moves to practice activating and deactivating muscles simultaneously:
• Tighten the right leg crease area (where the leg joins the torso) as you release and deactivate the muscles around the right seat bone.
• Tighten the top of the left shoulder (between the top of your left arm and head) without tightening the arm, elbow, wrist, or fingers.
• Tighten the backs of the thighs without tightening the muscles at the back of the pelvis. Also, do not lift the kneecaps or tense the front of the thighs.
• Tighten the muscles of the pinky fingers without tightening muscles in the wrist, elbows, or arms.
• Tighten the muscles of your heels (yes, they have them!) without tightening or clenching your toes or kneecaps.
• Tighten the muscles around your ears and eyes while releasing and deactivating the muscles of your jaw.
This excerpt from Stable Core Training by Joyce Kramer is reprinted with permission from Trafalgar Square Books.