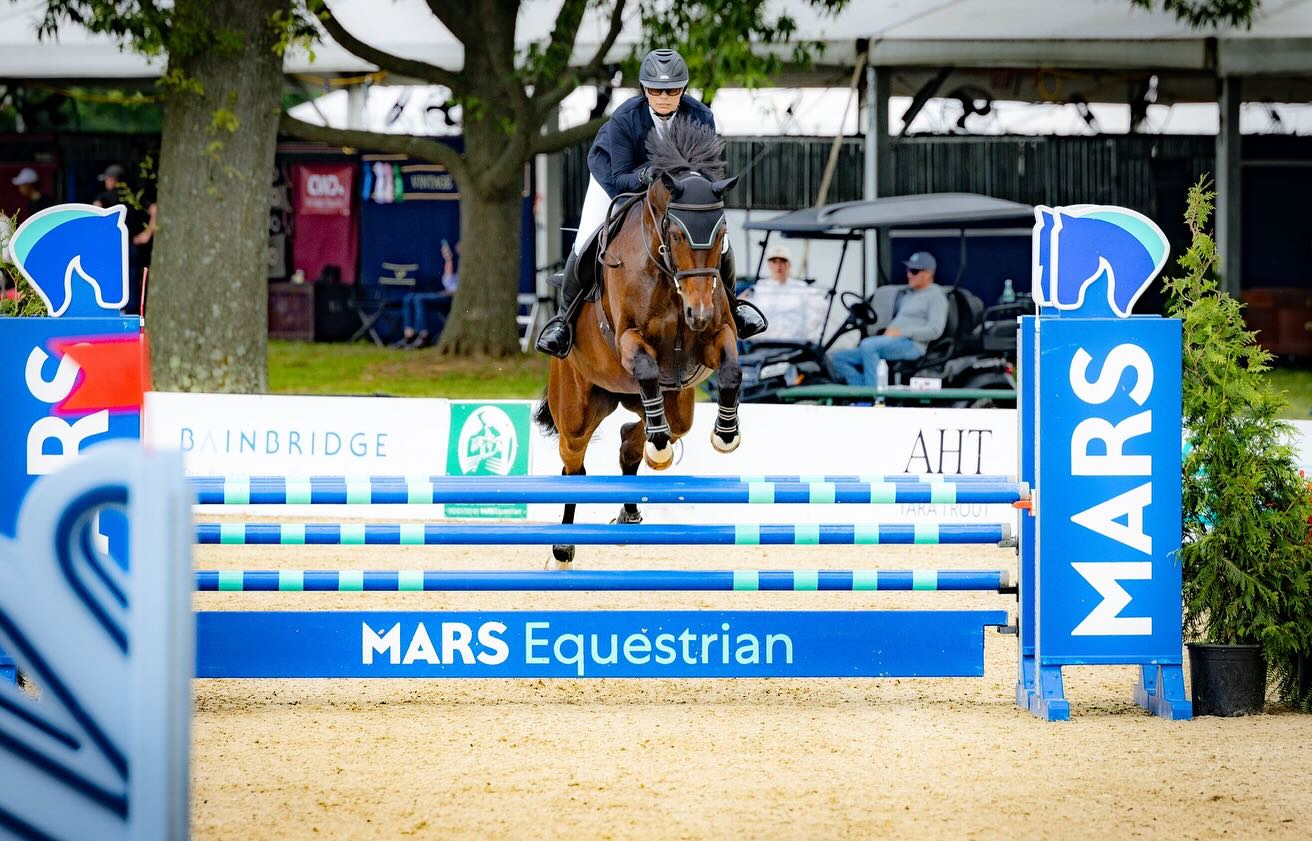
Do you ever stare in awe at the sleek shiny horses, the glistening brass, perfect braids, and dazzling white marks at a CCI trot up? Do you ever wonder how they get that way? (LOTS of hard work is the correct answer!) Each Sunday morning we will bring you a little insider info on how the big-time grooms manage an upper level event horse. Feel free to email or comment with specific grooming questions if you have a topic in mind!
Previous entries: Extreme Makeover: Button Braids , Part II
Extreme Makeover: Taming the Tail
What About Tack? Part I , Part II
QUARTER MARKS
Today we will begin an exploration into the groom’s ultimate canvas: a beautiful butt. Quarter marks are used to enhance a horse’s hind parts (as an Irishman I know so often calls them), and to sometimes make a “statement,” especially at team events. You may see a Kiwi bird on a NZ horse, maple leaf on the Canadians, or something cute that goes along with a particular horse’s name/theme. Pretty much anything goes, so long as it is TASTEFUL and respectful towards the horse. Here’s a link with some beautiful work.
One little thing here: no real groom would be caught DEAD using a stencil (that’s the plastic-thingys you can buy at a tack store) to create a basic pattern. All checkerboards, diamonds, triangles, etc are done freehand. A thin, fine plastic comb is the tool of choice. Yes, it takes time, patience, practice, and skill; but it allows you to slightly modify a design to better suit the horse. And you don’t leave the awful square outline from the plastic pressed into the butt.
Tools:
Fine-tooth comb— a flea comb, or 2″ broken section of plastic hair comb works well
Small body brush— palm-sized, with short, firm bristles. A child’s body brush, or even a small scrub brush does the trick.
Spray bottle— you can use plain water, water mixed with QuicBraid, or flyspray to dampen the hair. Some people use Showsheen, but I don’t like spraying it on the body (tails only).
Let’s briefly discuss your basic pattern options:
CHECKERBOARD

The most basic, classic design. Generally the squares range in size from 1.5″ to 2″, whatever the size of your comb. Brush the horse’s haunches as normal. Start about a hands-width off the dorsal line; the size of your checkerboard is determined by the size of your “canvas.” Usually centered between point of croup and the tailhead. Most of the time, smaller is better– about 7 squares or so. Hold your comb parallel to the horse’s spine; comb straight down (perpendicular to spine) firmly to create a square. Move over one comb-width. Create another square by combing down. Keep going until it is the size you want.
Alternatively, you can create larger squares (think Purina) by using your small body brush instead of the comb.
DIAMOND or PYRAMID
A spinoff of the checkerboard. Same technique applies, only space your “checkers” in a diamond or pyramid pattern. It is a bit more compact, so this design looks good on horses with more pointed hindquarters, or who are a bit delicate (mares, smaller horses).
VEE
This design is not created with your little plastic comb– instead, use the small body brush. Visually map out the size of your canvas, and lay your base by brushing all the hair (your whole “canvas”) straight downwards. I usually cover an area from point of croup, to below point of hip, across to point of butt. Make a smooth lower border by brushing horizontally (“with” the hair). Starting just at or behind the point of croup, brush diagonally downward to the middle border of your canvas. Then create the other side of the Vee: brushing diagonally downward (against the hair) from near the tailhead to intersect with the other lower edge. I like to use this pattern on horses with pointy butts, steep croups, or those who seem to lack a bit of muscle.
RACING STRIPES
Definitely the easiest hind-end dressing to apply, and it’s often my go-to QM of choice. Start by brushing the butt as normal, with the hair. Then, using the small body brush, start at or just barely behind the point of croup. Hold the brush vertically, and stroke straight down. Move over one brush-width. Brush straight down again. Repeat. You now have three vertical stripes. Even the lower edge of the stripes by brushing horizontally with the hair. I love this design on horses with large, powerful hindquarters– it’s simple, yet striking. Also, vroom-vroom for XC!
Now, the upper portion of the HQ is decorated. Time for the lower half, to be covered in “flashes” or “sharks teeth.” I’m not really sure how this pointed pattern originated (give the illusion of movement? Jaws attacking your horse’s hamstrings??) but it looks really cool. It takes a few tries to get the hang of it, but keep practicing.
Begin by clearing your canvas, brushing with the direction of hair. Let’s start on the horse’s right side. Hold your brush somewhere in the middle of the haunch, well below your upper design.
Brush in a sweeping, diagonal upwards motion towards the tail. Immediately follow it with a downwards diagonal stroke, from hip toward gaskin. You now have one “point” or “tooth.”
Begin the second tooth right alongside the first, but staggering your brushstroke a little farther forward (toward the stifle). Brush upwards diagonally again, parallel to the first. Now, brush diagonally downward again, parallel alongside the first downward stroke. You now have a second point.
Continue on with the third tooth, and if it suits the horse, a fourth. Be prepared to get mad, frustrated, and start over (and over, and over) while you’re learning. Over time, you’ll develop the proper angle for each stroke, and just how much length looks good.
The video below includes demonstration of Racing Stripes, Sharks Teeth, and the Vee.
A few other notes:
Always check behind the horse to ensure your QM are even on both sides (especially on top!). Finish the job with a brush swipe straight down the spine toward the tail, and with half-circles either side of the tail (down the hammies) to “close out” your flashes.
Play around with different designs to see what suits your horse. If you cannot master one design, obviously don’t do it! Poorly-done QM are worse than none; sometimes the horse’s hair just won’t cooperate. Also, if your horse has a skinny butt, don’t call attention to it!! Save the design for later, when he develops something worth looking at.
Generally, I don’t do quarter marks until prelim level or above. QM at the lower levels can be a bit “overdressed,” and many LL horses aren’t quite as developed behind (see above).
Practice, practice, practice! The great thing about quarter marks, is they are easily erased, so you can always start over. Once you master the technique, it doesn’t take much time. But when you’re fiddling around trying to get sides even, or debating which design to use, you waste precious time that the horse could be warming up! Don’t be in a rush, do your preparation beforehand, it will be much less stressful.
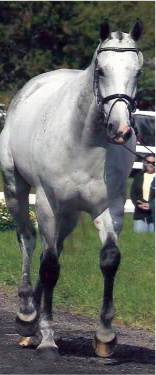
Sadly, quarter marks don’t show up on grays. Unless you try to get creative with grass stains. The only way to get QM on a gray horse is to body clip them in, something I might try at a fall three-day when I’m clipping anyway. Those of us with grays never get to have any fun…we’re just stuck scrubbing green crap off our horses four times a day, soaking our hands in purple shampoo.
Oh, and I realized I forgot something from the braiding tips last week: Keep a magnetic dish handy! (the magnetic stud dish is great, but you can buy a needle dish for $1). Inevitably, you WILL drop the needle somewhere in the stall. Having a magnet greatly helps you find it, and sleep peacefully instead of nightmares about sole punctures.


